The first checks, in pictures
Start with these three checks. The pictures are simplified; the steps below explain the details.
Take the tension off
Set the item down. Do not pull harder on the tab.
See this step — Take the tension offEase visible fabric away
Use small, gentle movements only. Stop if it resists.
See this step — Ease visible fabric awayInspect before reuse
Damaged teeth or a bent slider need repair assessment.
See this step — Inspect before reuse
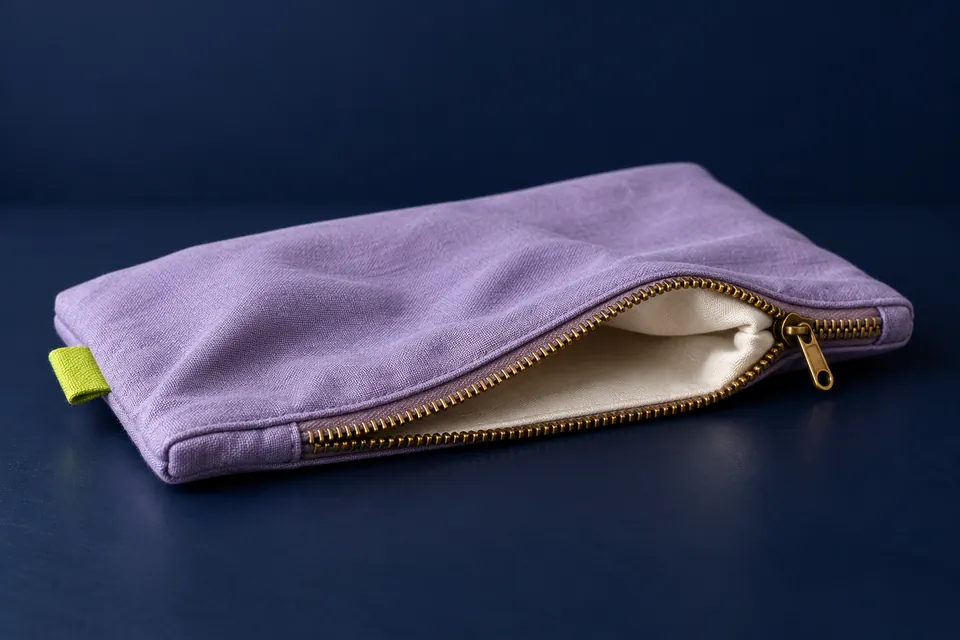
The lining disappears into the slider, and the zip stops halfway up. Pulling harder feels like the obvious response, but it can turn a small snag into torn fabric or damaged teeth. Start by taking tension off the zipper and looking at the point where movement stopped. This guide is for an ordinary garment or bag zipper with fabric caught near the slider. Waterproof, specialist and safety equipment need their manufacturer's instructions. If skin is trapped, stop pulling and get appropriate help rather than following a fabric-release routine.
The first useful check
Stop pulling. Take the load off the zipper, support the item on a stable surface and inspect both sides in good light. Gently ease visible trapped fabric away while making only small, low-force slider movements. Stop if it does not release easily.
Which situation sounds like yours?
Visible lining is caught
Remove tension and try a gentle, small release.
Teeth are missing or parts are bent
Stop and ask a repairer to assess the damage.
Specialist waterproof or safety zipper
Use the manufacturer's specific instructions.
Skin is trapped
Stop pulling and obtain appropriate help.
Step 01
Decide whether it is a snag or a broken closure
Look closely at the slider and the teeth immediately beside it. Can you see lining, a loose thread or another object entering the slider? Or are teeth missing, the slider visibly bent or the chain separating behind it? Those observations lead to different decisions. A release technique for caught fabric will not replace missing teeth or restore a broken component.
Check both faces of the item, using a light rather than pulling it into an awkward position. Do not insert a sharp tool between the slider and fabric just to investigate. If the zipper belongs to protective equipment, a dry suit or another item whose closure has a safety function, use the maker's service guidance. A temporary-looking improvement is not evidence that the equipment remains fit for use.
Step 02
Remove the tension around the jam
For an overfilled bag, reduce the load if you can do so without forcing the closure. Support the two sides so they are not pulling apart. For clothing, stop stretching the garment against your body and, if practical, remove it safely before working on the snag. The aim is to let the slider and fabric relax rather than making one part resist the other.
Lay the item where you can hold it steadily and see the obstruction. Keep delicate surfaces away from rough edges. If another person helps, agree that neither of you will suddenly pull while the other is holding the fabric. Two people applying force in opposite directions can make the damage worse. A quiet, well-lit inspection is more useful than a stronger grip.
Step 03
Ease the fabric away with small movements
Where a small piece of lining is visibly caught, hold the surrounding fabric gently and ease it away from the slider's mouth. Try only a very small movement of the slider back toward the position before the snag, without forcing it. Alternate between relieving the fabric and checking whether the slider moves freely. YKK's care guidance specifically warns against forcing a slider that is not moving smoothly.
Stop when the fabric stretches, the slider resists or you cannot see what is caught. Do not use pliers to crush the slider or a screwdriver to pry it open as a routine home fix. Those actions can deform a part that a repairer might otherwise save. A cheap garment is still worth treating carefully, and an expensive one is not a reason to attempt a more aggressive trick.
Step 04
Do not pour a household remedy into the problem
Oil, soap, wax and other suggested lubricants are not interchangeable. They can affect fabric, coatings or specialist zipper construction differently. A visible fabric snag is first a mechanical obstruction; adding a slippery substance does not remove the piece of lining. Keep products away unless the manufacturer's instructions for that exact zipper and material recommend them.
If the zipper is dry or rough without trapped fabric, consult the maker's care instructions rather than borrowing a remedy intended for another type. Test any permitted treatment as directed and protect the surrounding material. Do not use heat, flame or solvents to force a release. The inexpensive solution here is often patience and reduced tension, not an improvised chemical treatment.
Step 05
Inspect the release before trusting the zip again
Once the fabric is free, inspect it for a tear or loose thread that could catch again. Check the slider and adjacent teeth for visible damage. Move the zipper slowly through a short section while the item is unloaded and supported. Stop if it separates, catches in the same place or requires force. A single successful movement is not proof that a damaged closure is repaired.
Keep the lining clear with your fingers as you operate the zipper normally, without putting fingers in a pinch point. If a loose lining edge repeatedly enters the slider, a small sewing repair may be more useful than repeated unjamming. Ask a suitable repairer to assess it if you cannot make that repair confidently. Fixing the cause can preserve the existing zipper.
Step 06
Know when the repair shop is the cheaper option
Missing teeth, a broken insertion pin, a damaged stop or a deformed slider call for assessment rather than repeated pulling. Photograph the fault and note when it occurs before taking the item to a tailor or repair service. Describe whether it jams, separates or fails to start. That distinction helps the repairer decide whether a component or the whole zipper needs attention.
For bags, reduce overfilling and support the sides when closing. For garments, keep fabric out of the slider path and follow the item's washing and care instructions. Check a previously troublesome zip before leaving home with something essential inside. The aim is not to make every zipper last forever; it is to avoid turning a manageable snag into a replacement through a few seconds of unnecessary force.
An example you can follow
An overfilled bag kept the lining under tension
Illustrative example: Rowan's bag zipper stops where the lining folds into the slider. Pulling the tab makes the fold tighter. Rowan sets the bag down, removes accessible contents without forcing the zip and supports the two sides together. With the tension reduced, the caught lining becomes visible. A small gentle reverse movement lets the fabric ease free. If it had remained tight or the slider looked damaged, the next step would have been a repair assessment. The useful change was unloading the closure, not applying more force.
What the symptom tells you
Inspect before trying a remedy. Stop when movement requires force.
| What you see | Likely task | Avoid |
|---|---|---|
| Fabric at the slider mouth | Gentle release under reduced tension | Yanking the pull tab |
| Zip separates behind the slider | Repair assessment | Crushing the slider with pliers |
| Missing tooth or broken pin | Component or zipper repair | Repeated attempts to force it closed |
| Rough specialist zipper | Manufacturer-specific care | Unapproved oil, wax or solvents |
Questions you might still have
Should I pull harder to get past the snag?
No. Relieve tension and inspect the obstruction. Force can damage the fabric or zipper.
Is soap or candle wax always safe?
No. Material and zipper type matter. Use only care methods appropriate to the actual item.
Can a tailor fix it without replacing everything?
Sometimes a local repair is possible, but the damaged component and construction determine the options. Let the repairer inspect it.
Sources & how this guide was made
Written by LoschaZ from the guidance below. The illustration is our own. Worked scenarios are labelled as illustrations; they are not customer stories or tests on every device. For product-specific steps, follow the current instructions for your device, account or item.